
DIY Halter Top
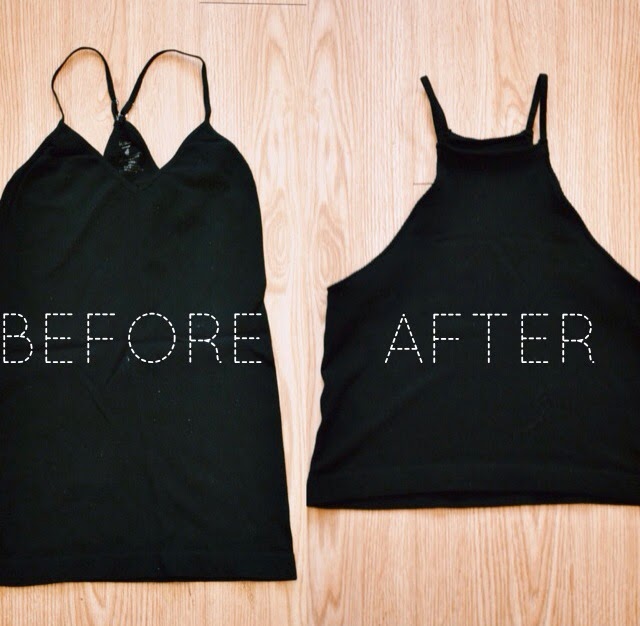
While doing some spring shopping, one of the things on my list was to look for a plain and simple halter top. Unfortunately, every store I went to from PacSun to Forever 21 didn't have a simple halter top, or they were all sold out of the color I wanted, which was just a simple black or white. I literally lost my patience to look for one since I've been wanting a halter for a while. As I was going through my closet one afternoon, I came across an idea. I had a bunch of solid color camis that I don't even wear, so I said, "why not try to make a halter top out of this?" And well....I did.
Here's what you will need:
1) Time: 30 minutes, 45 at the most. This is actually a very easy project, but this was my first time making it so I had to really make sure I knew what I was doing, so it took me about 45 minutes.
2) A cami. Forever 21 has them for only $1.80, so take advantage! :) I prefer a cami that is fitted well.
3) A tank you may already have (to make the length for the arm holes!)
4) Scissors
5) White crayon, chalk, or something to make marks with.
6) Sewing machine
7) Tape measure/ruler

Start by laying your tank flat. I am using a form fitting racer-back tank.
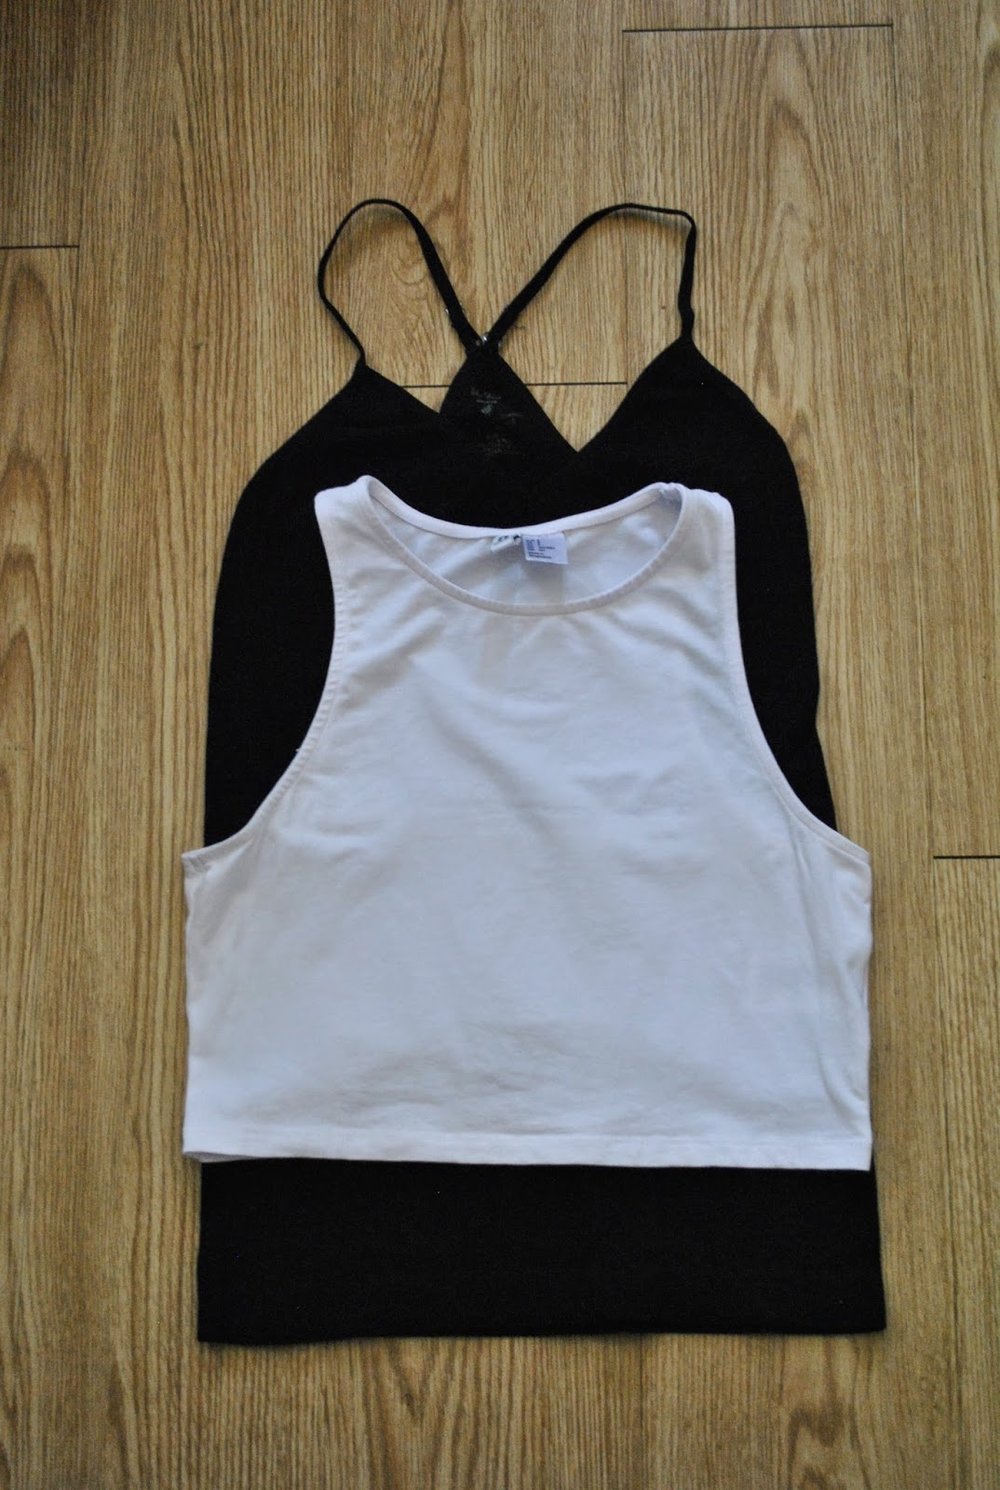
Using another tank, lay it in the middle as pictured and trace along the arm hole's edges to make your halter's arm holes. I had used a crop top tank as pictured. You can also mark how short you want your halter top to be.

Here are my markings. As you can see, there are two different marks: one from the crop tank, and one where I made the halter shape. To make the halter shape, I started from the bottom of the arm hole I traced, then just extended out a slightly curved line, as shown with the red line above. I then connected them two with a straight line.
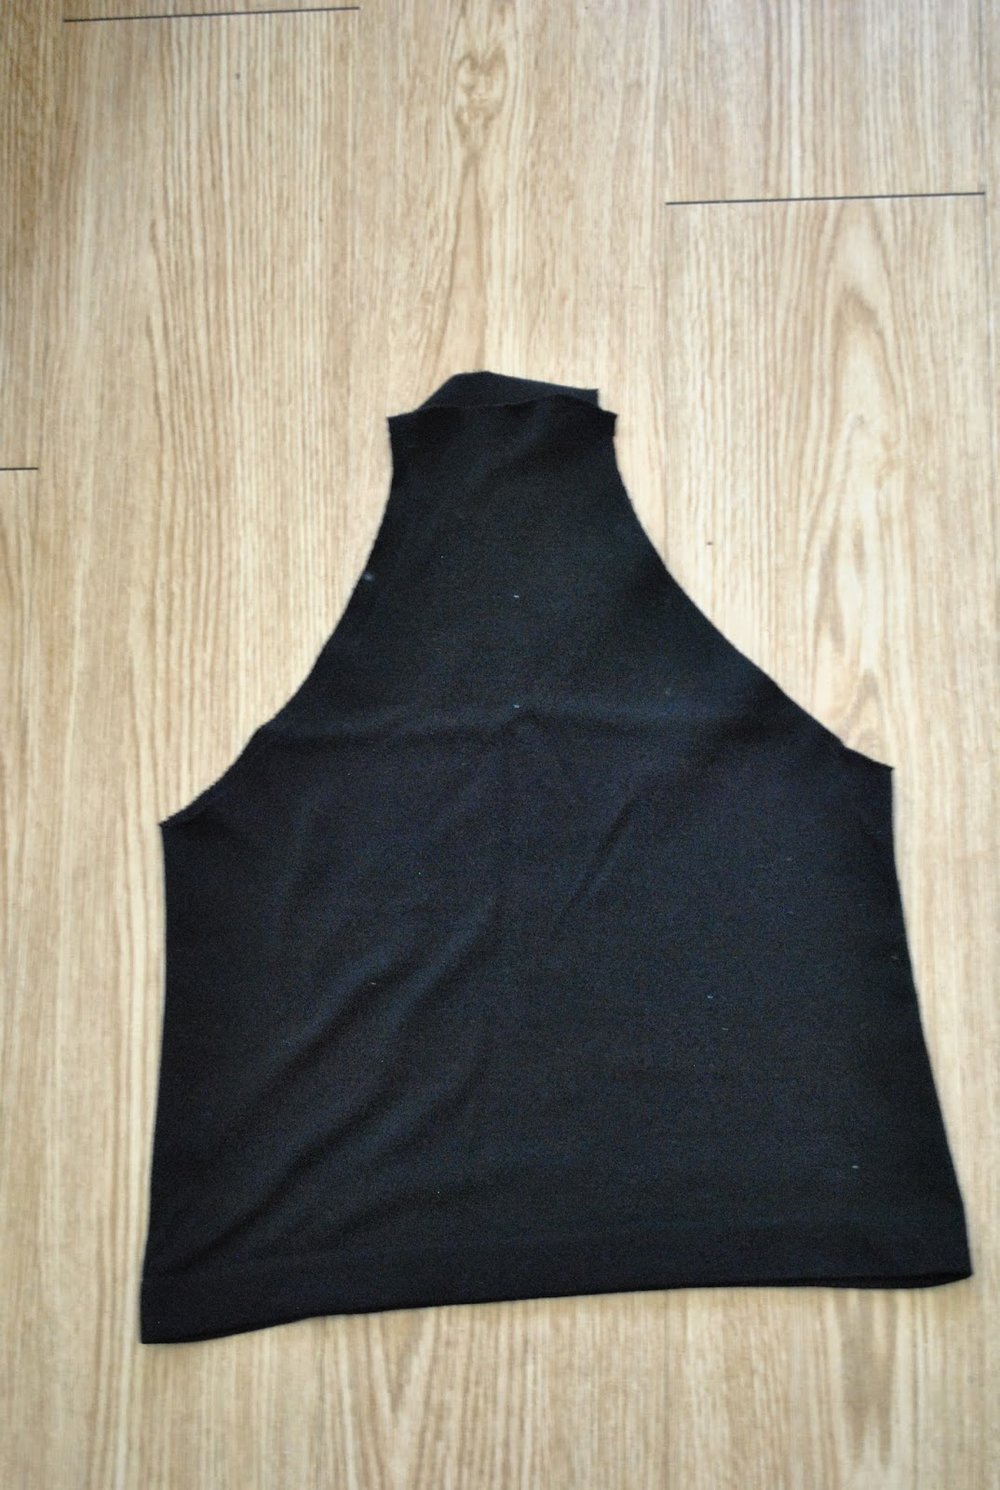
Cut out your shape. Do not throw away your excess fabric yet, especially the straps from the tank!

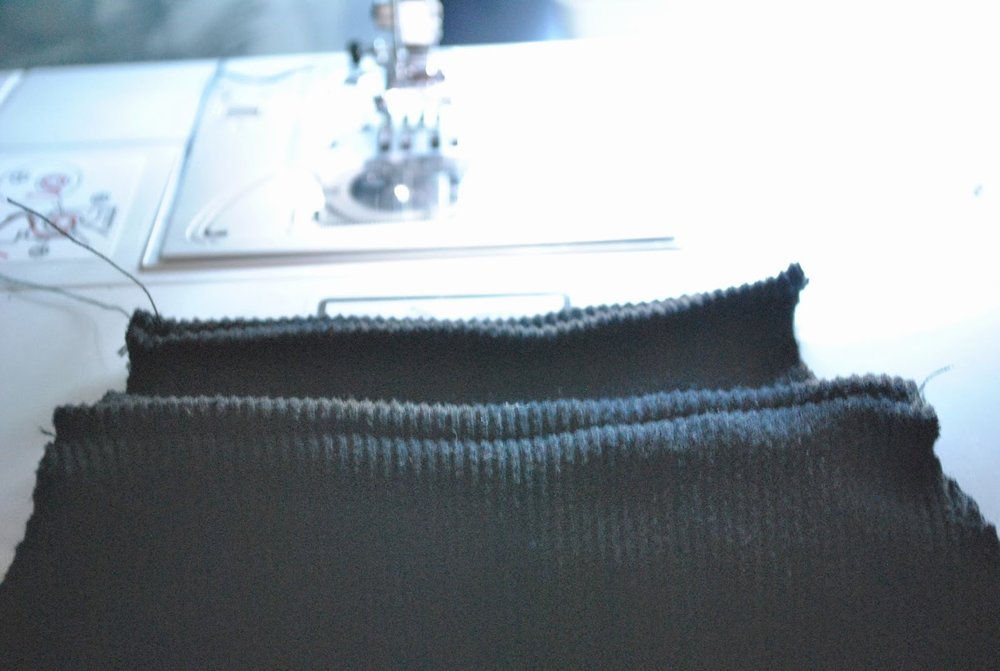
Decide which side is the front of your halter. Then at the front side's neckline, fold your neckline down to however low you want it to be. I went down about 2 1/2 inches. Cut off excess fabric, but leave about an inch for seam allowance. Tuck in your ends and sew.
For the back side, you can repeat the same steps, but I just left it the way it was and just tucked in my ends to sew.
As you can see, the front side's neckline is slightly longer than the back since I folded it over more, but that's okay :)

Fold in your halter's arm holes' ends for a cleaner look and sew.
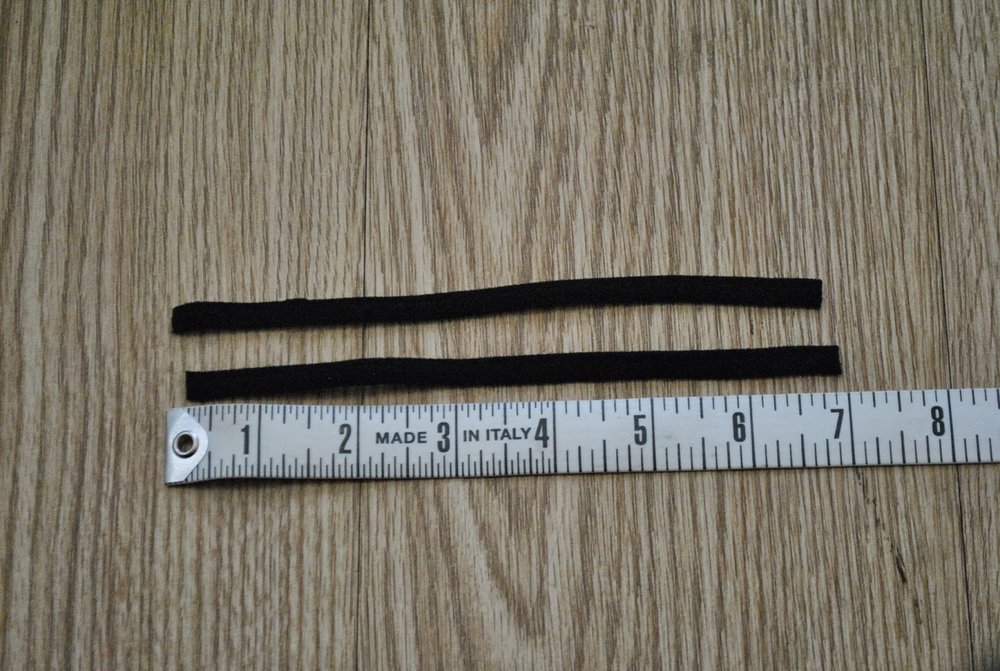
Next comes the shoulder straps! Using the excess fabric from the starting tank, cut out its' straps. I cut mine out to 7 inches. Connect each strap to your halter by sewing them at both edges of your halter neck.

....and you're done! Here's the finished product -- your very own halter :) I'm pretty sure I'm going to make about 10 more because I have a whole pile of colorful camis in my closet!
Thank you for reading! For any clarifications, please let me know in the comments!
xoxo, Ysabel