
DIY Lace Up Halter Top

Lately, I have been obsessing over halter tops. In my opinion, halter tops are so much more cuter than wearing a regular tank top. I am also in love with fun and colorful floral prints especially for the summer! I've been sewing a lot lately, and one of my recent creations is this floral halter top with a lace up back, which is definitely a twist to a basic halter.
You will need:
1. Your choice of fabric, preferably 1 1/2 or 2 yards.
2. A cropped tank you may already have (optional)
3. Sewing machine, or you may hand sew if you prefer.
4. Scissors
5. Measuring tape
Difficulty: Intermediate


Lay out your crop tank on the fabric. Trace around your tank, but be mindful about how much room you give. I kept in mind that the tank I am tracing around really stretches when I wear it, so I extended out about 2 1/2 inches down and 2 inches wider. You can also refer to my other tutorial on how to make a halter top out of a tank: http://atlofysabel.blogspot.com/2014/05/diy-halter-top.html

Here's how it looks like cut out.

Next, make your halter shape. Pictured above is how I traced it.

Here's how mine came out after I cut it.

For this next part, lay the front piece upon your chest and measure from one side to the other. This will determine how long your back piece will be. (Spot my cheerleader shirt? (; )

Measure your front piece's side to make the width for your back piece. For the length, use the measurement from the step before. I came out to 18 inches, but added about 2 more inches just to be safe.


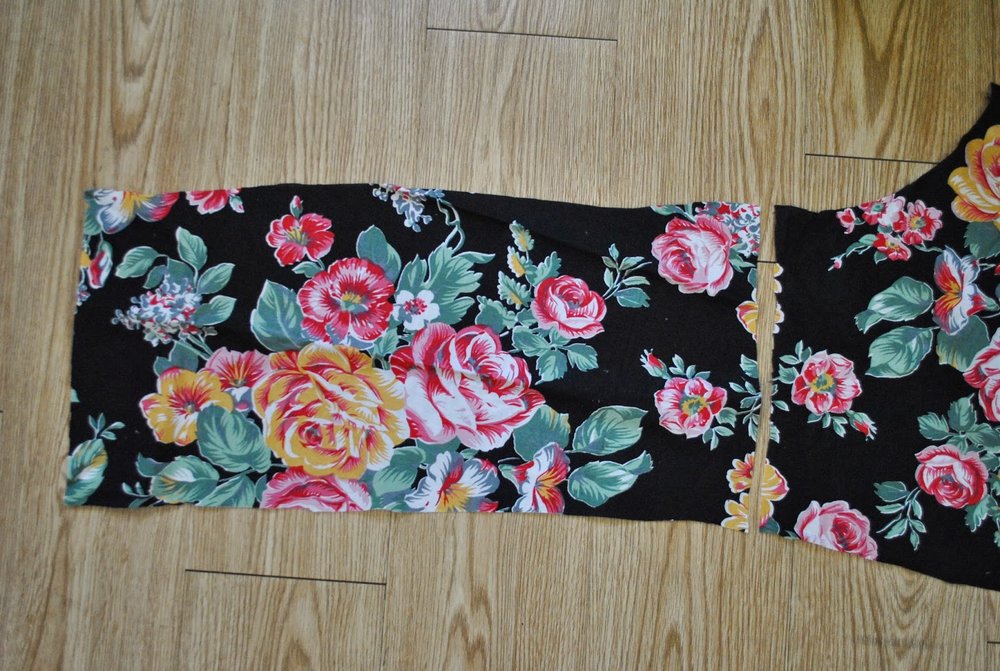
Your pieces should line up just like this :)
Fold over and sew your ends for a nice finish. For the top of the halter I made the folds smaller. I suggest a double needle would work the best for sewing the top part. For the bottom, I folded it to about half an inch.

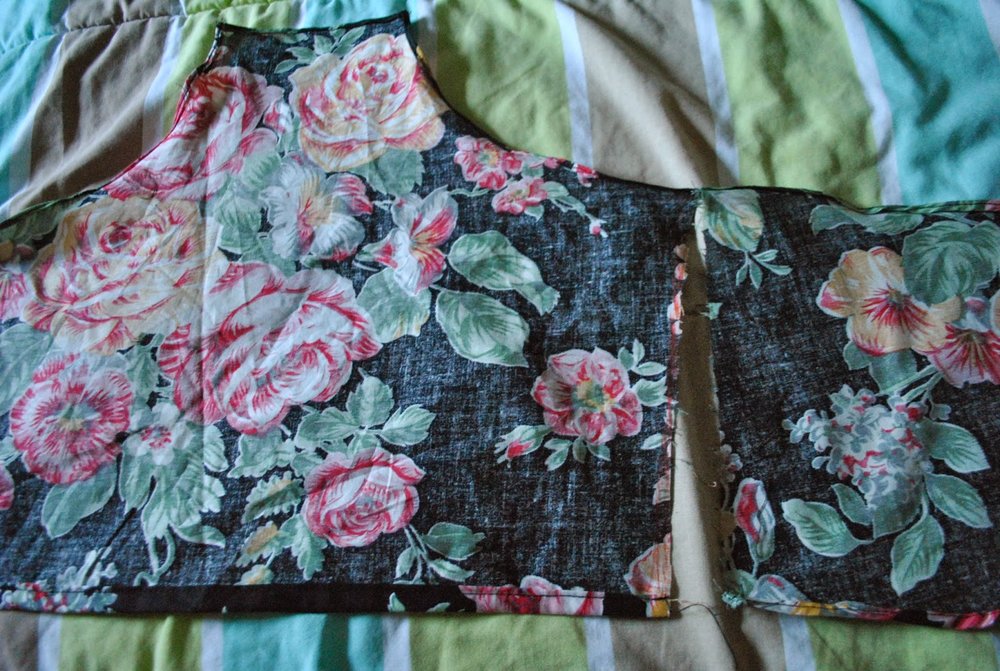
Now, time to put the top together! At the side my hand is gesturing at, sew the back and front piece together. Make sure the FRONT of your fabrics are facing towards each other.

Here's how it looks together.

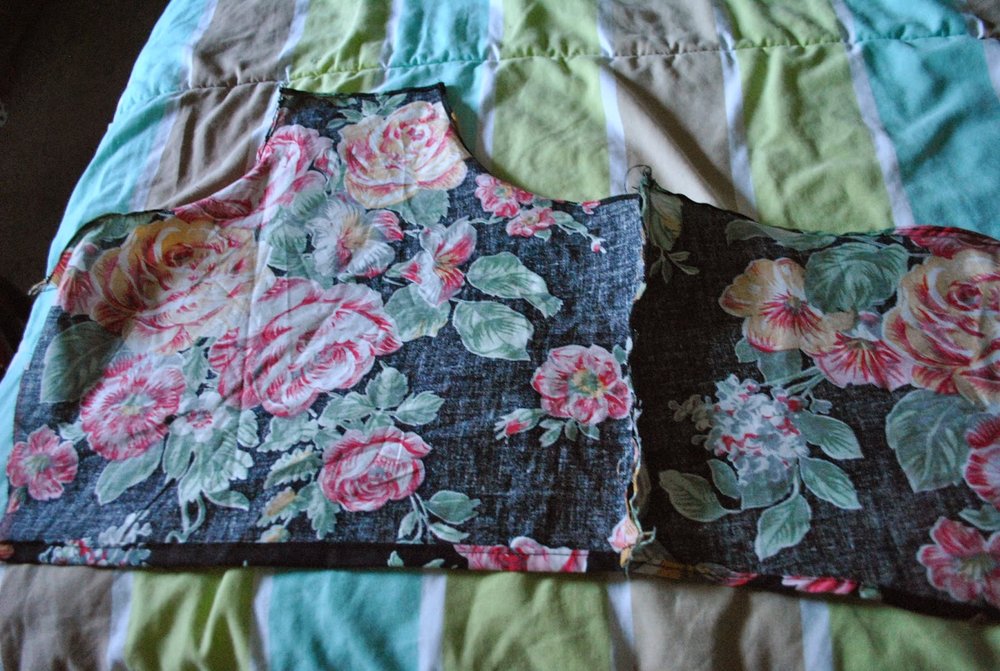
Cut in the middle of the back which is where it will get laced up in one of the next following steps.

Next, we're going to make the neck lace pieces. Cut two strips of 20 inch long 1 inch wide fabric. Fold them over, then sew along the edge (one of the next following steps will explain how I fold the strips). Sew them at the sides of the halter's neckline.

I folded over my neckline over the laces I have just sewn for a cleaner look.

Next I made the pieces for the lace up back. Cut out 14 pieces of 2 inch long, 1 1/2 inch wide squares.
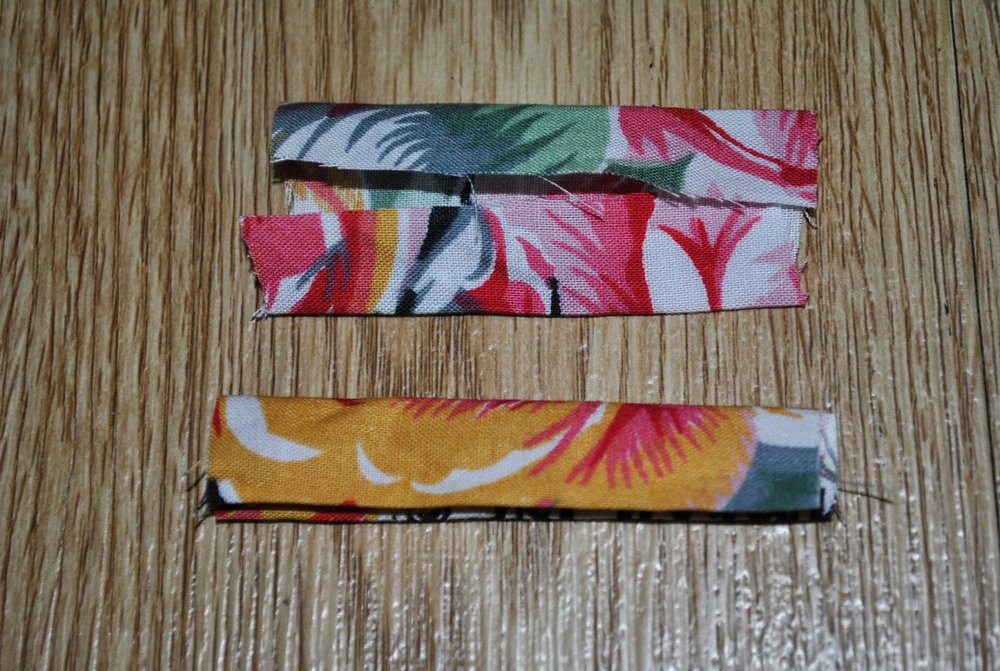
Fold both sides over like pictured above, then fold again over each other. Sew along the open edge.

Going back to your halter, you can adjust and trim the back if you don't want the back piece to be very long. Keep in mind, the shorter you fold over the back pieces, the more you will be able to see the "criss cross" effect from the lace you will be adding later. I cut off about 3 inches excess fabric and folded it over.

From the 14 pieces, add them to the back. Space them out 1 inch from each other, and have an opening of about 1/2 an inch so the lace can be inserted in between.

It should come out like this once you've sewn them in. You're almost done :)
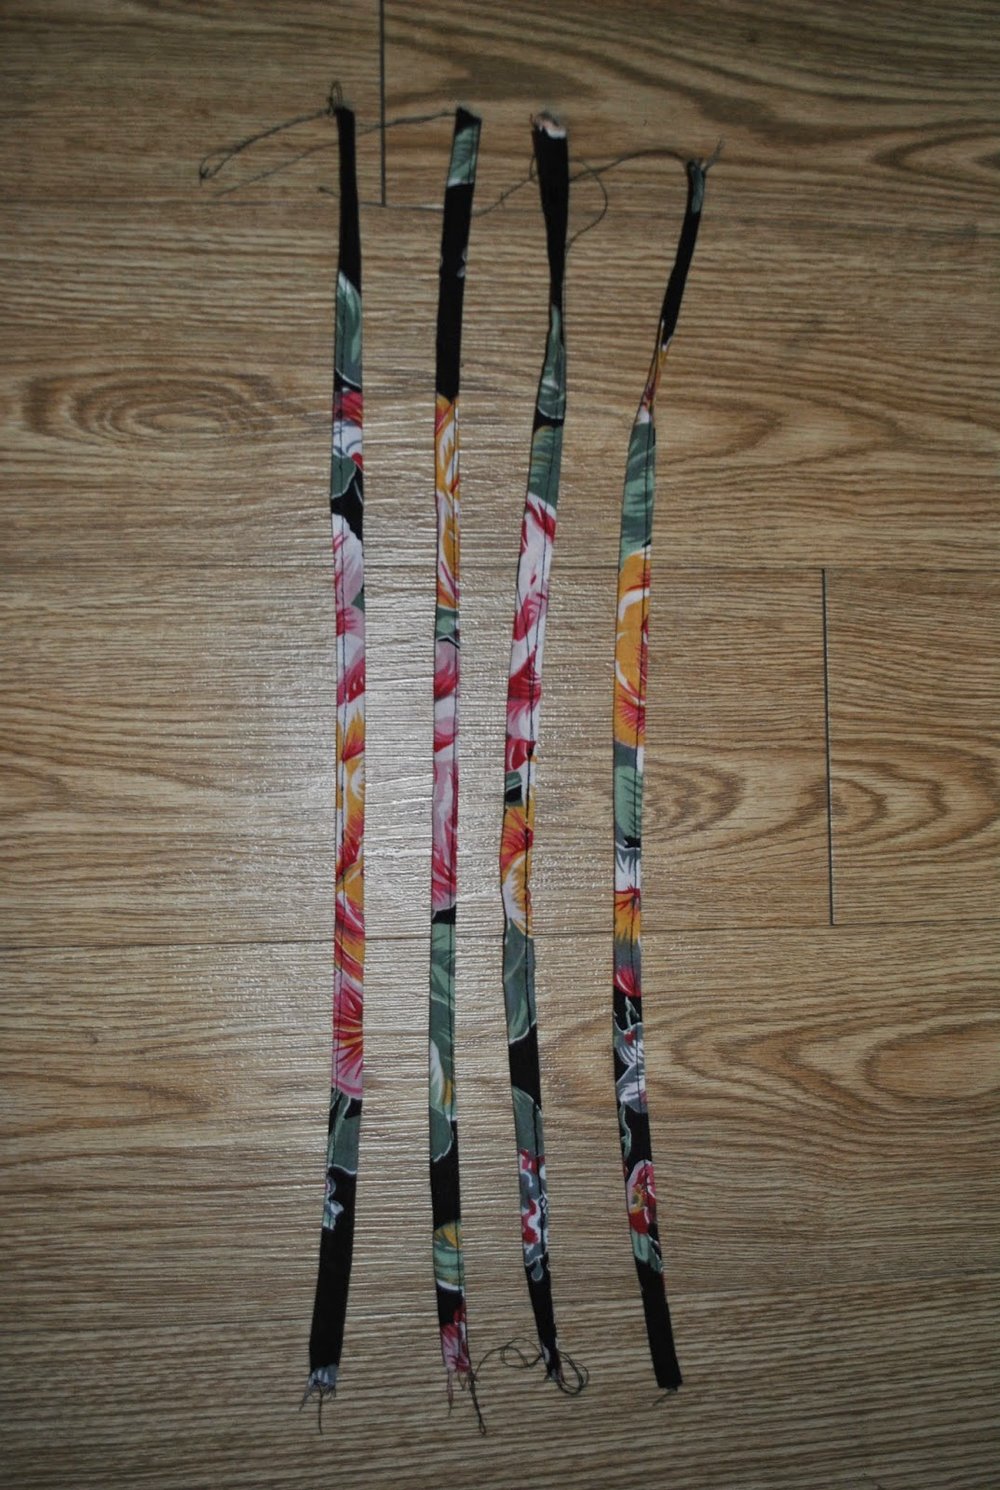
With any excess fabric, make your lace pieces. As you can see, I ran out of any straight pieces so I had to improvise. I cut out four 15 inch pieces which came out to 60 inches in total. Sew the ends together to make one long piece. Lace them through the back of the top.
OPTIONAL STEP:

You can add darts to the front of the top if you would like your halter to be more fitted. I added two 6 inch long darts that started at 3 quarters of an inch. If you need any more clarification, please look at this tutorial that taught me how to make darts: http://www.sew4home.com/tips-resources/sewing-tips-tricks/how-make-dart. Look for the section that says "basic dart" :)

Here's how the darts look from the front.


Here is the final result! I absolutely love this halter. Definitely one of my favorite items to wear for the summer, and it matches the shorts and skirt I have made from the same fabric as well! Thank you for reading my tutorial. If you need any more clarifications please don't hesitate to leave a comment :)
xoxo, Ysabel