
What better sewing project is there for the summer than making a bikini? Although there are so many different bikini styles out in stores right now, I wanted to make my own unique piece. I didn't want a simple bikini top, so I drew inspiration from a clothing piece by Alexander Wang for this project. For the bottoms, I am a huge fan of the high waist style and decided to take that up as well.
I've been wanting to do this project since June, and now that school has been done, I finally found the opportunity to do so. I spent some time doing research as well so that I will be comfortable with the process of making a bikini, so I hope you'll bear with me during this tutorial.
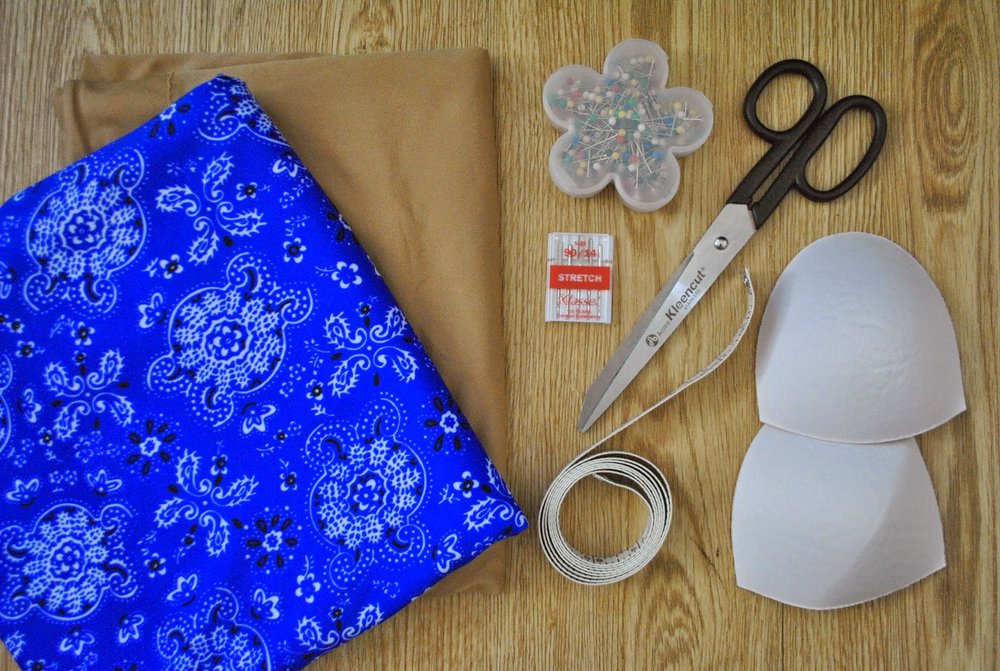
You will need:
1) 1 yard of bathing suit fabric. Preferably nylon/lycra or even neoprene. I bought this paisley-like print at the LA Fabric District for $11.
2) 1 yard of SWIMSUIT LINING! This is very important in order for your swim suit not to turn out funky once it gets wet. Again, I bought it from the LA Fabric District for $7.
3) Stretch needle. Another very important item since you will be working with a stretchable fabric! You can use a twin stretch needle if you'd like.
4) Bra inserts. I took mine from an old bikini, but you can buy these at Joann's as well.
5) Elastic for the waist band and thighs. Buy elastic that is made for the water.
6) Needles
7) Measuring tape
8) Drafting/pattern paper to make your patterns. You can use wrapping paper as well.
Difficulty: Intermediate/Advanced
Time: It varies on your pace. I took a few days since I had cheer practice in between and I took my time, but in total, It would take about 3-4 hours.
Tips/my comments before getting started:
1) Reading various blog posts about making a bathing suit, all of them suggested to use a stretch/ballpoint needle with the fabric or it won't end up being a smooth process. I didn't want to take any risks so I took up that suggestion and this project went nicely!
2) Use your machine's stretch fabric stitch options. I recently bought a new Brother sewing machine about two months ago and the manual explained certain stitches to use on stretch fabric. A stitch that is most commonly used for fabrics like these is the zig zag stitch. I used zig zag, a "three stitch" stitch, and a regular straight stitch throughout this project.
3) Take your time! You don't want to rush and make any major mistakes. I hate taking out seams to redo them, especially with stretch fabrics.
4) I didn't worry too much about serging the fabric because it doesn't fray, but if you want a more clean cut look, that's definitely an option.
Patterns:

Here is the top pattern I used.
For the breast cups: I took a plain triangle cupped bikini and traced around it and added seam allowance.
For the strip: For the length, I first measured around my whole area below my boobs and my back. It came out to 28 inches, but I added about 2 inches for seam allowance. For the width, I just went down 4 inches.


To make the high waist bottom patterns, I took a bathing suit bottom I already had and traced around it, then added 3 1/2 inches to the top so it just goes right over my belly button. I made a front and back piece. I added about 1/2 inch seam allowance all around.


I knew I was going to have left over fabric, so I made another set of regular bottoms just in case I wanted to make another bikini! But for now, I focused on the high waist piece.
LET'S BEGIN!

Here's all the pieces after it has been cut out.


I started with my bottom pieces. Sew them together. I used a three stitch option to put them together.

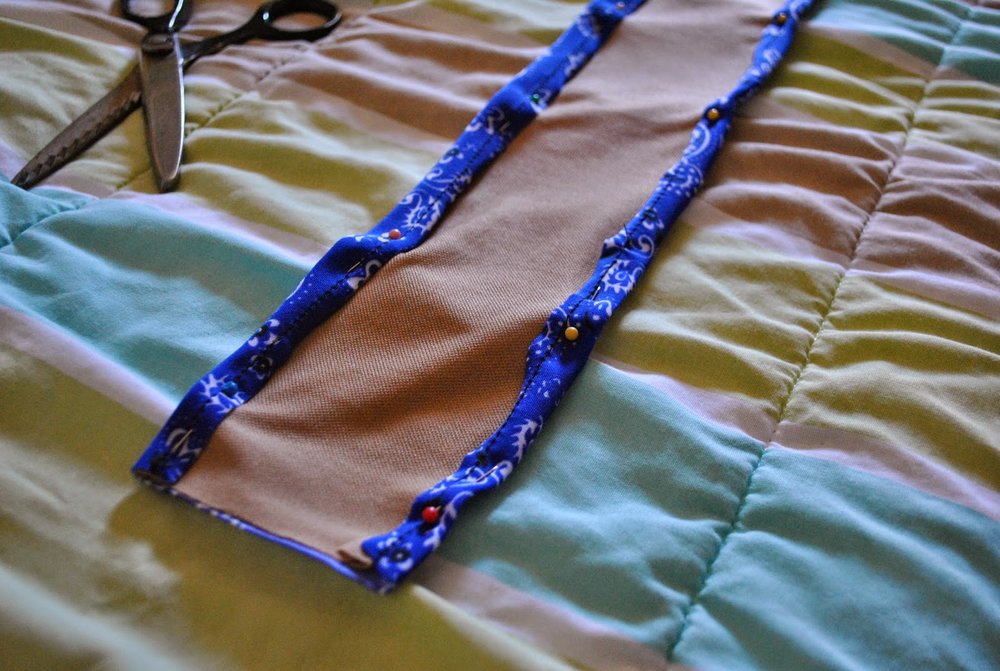
Insert the lining inside your main fabric piece, and sew along the edges using a zig zag stitch.


Next, cut your elastic to your measurements at the designated areas then attach it on the waist line and leg holes. Use a zig zag stitch over the elastic, then you can fold over the seam for a cleaner look.
A video that helped me a lot with making the bottoms is this tutorial by Mimi G: http://www.youtube.com/watch?v=LzQIAZr-w2c

You're halfway done! Now it's time for the top. Take the long piece and sew them together along the edges.
I then folded it over once again.

Here's how it looks after.

Moving on to the cups, sew along the edge.

Cut out another set of lining to hold the bra inserts. Sew it along the edge as well.

Fold over the seams.

Take a seam ripper or your scissors and rip through a hole big enough to add your inserts.


Attach the cups to the main strip.
A tutorial that really helped me make the top was a tutorial by A Pair & A Spare: http://apairandasparediy.com/2013/11/diy-alexander-wang-inspired-bralette.html

SO CLOSE TO BEING DONE! Next is the tie. I cut them out to be about 20 inches long and 1/2 inch wide. Fold it over and sew along the edge.


Attach it to the tips of the cups.

It's time for the back! Fold the pieces over like shown. Make sure it's equal.


Cut as shown. I cut off about towards the middle of the cups.

Sew the edges like this, with 1/2 inch opening.

I forgot to take a picture of a certain part -- but I made another strip to go through the back. My strip was about 25 inches by 1/2. Insert the strip through the hole using the safety pin method. Pin one end of the strip, then guide the pin through the hole until you get it through the end!

Here's how it looks once it is inserted through both sides.
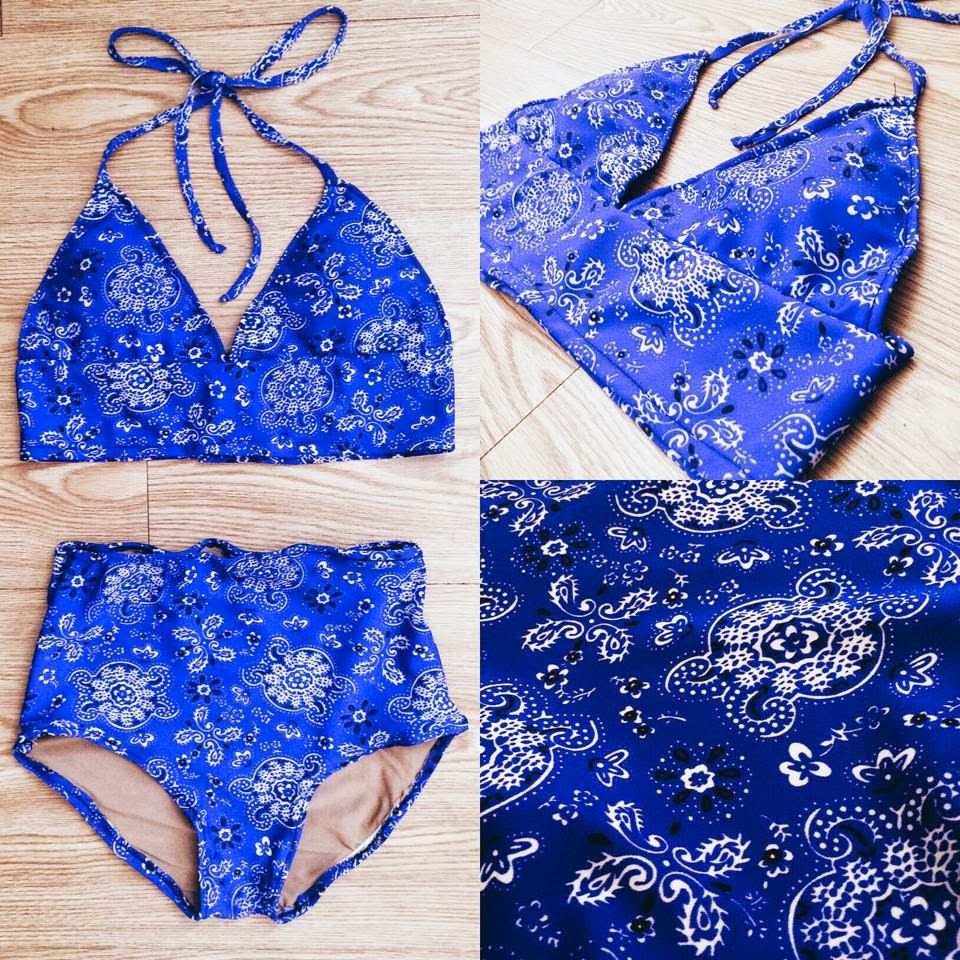
FINAL PRODUCT:


I'm so excited to wear this out! It's not that bright looking in person -- it's more of a dark royal blue.


Here's a close up of the bottoms. The bottoms could have been better in terms of construction especially when it came to the elastic, but it still came out what it needed to be.


The top is my favorite! It definitely came out the way I wanted to -- better than I wanted it to, actually. It's super fitting to my size and I know I'm going to make a casual top just like it.

Thank you for reading! Let me know if you make a bikini for yourself!
xoxo, Ysabel